Add and Configure Steps
Breaking down a user experience into manageable steps, allows you to simplify complex tasks based on business or operational considerations.
This section walks you through the configurations that you need to follow to add steps and configure them.
1 Add step

- On the configuration page of the form, click the Steps tab.
- Click Insert.
-
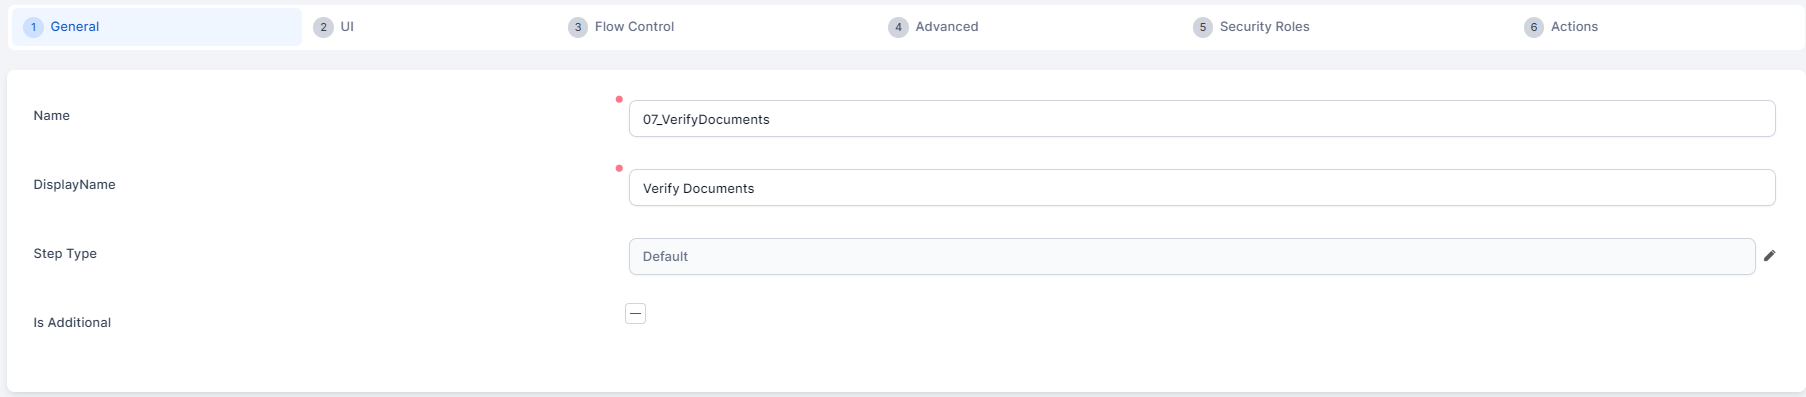
In the General tab, fill in the following fields:
- Name - The name of the step used by system. We recommend you to use PascalCaseNames (upper camel). The Name starts with an uppercase letter, as do all additional words.
- Display Name - The name of the step. It is displayed in the Digital Experience Portal.
- Click Save and reload. The step configuration page appears, containing more tabs, displayed by default in the General tab. You can configure the step, by clicking the tabs and making the desired settings.
2 Design the step layout
Click the UI tab . Use the UI Designer to configure the step's user interface.
For steps created in FintechOS Platform versions prior to v.24, the UI tab displays the legacy template designer which, in addition to the UI designer, provides an HTML editor that allows you to configure the step's HTML elements.
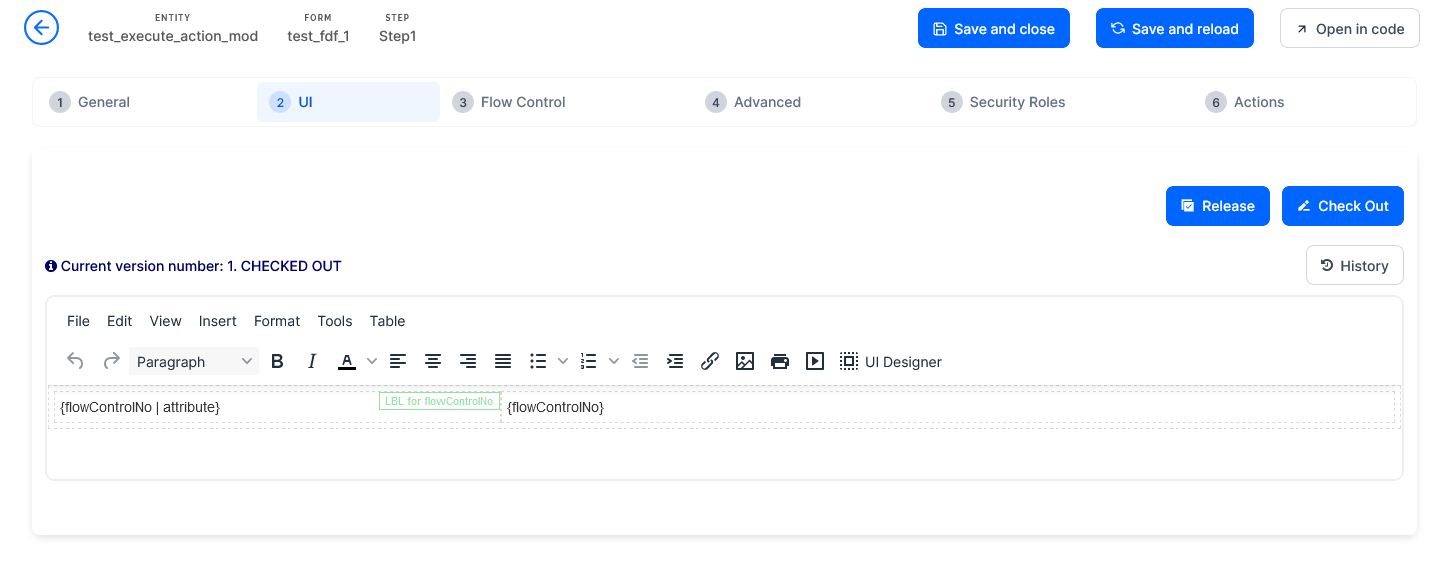
Legacy steps also allow you to use the Advanced Code Editor (deprecated) or the Code Editor respectively to edit their HTML code directly.
The step's UI template supports the following tokens:
| Token | Description |
|---|---|
| {AttributeName} | Displays the corresponding field on the step. NOTE The attribute name must be included between curly brackets; otherwise, a simple text will be displayed on the page instead of the actual field. |
| {#RelationshipName, view: viewName#} | Generates a view provided by relationship and by view. The viewName is optional and specifies which view to generate. If viewName is not provided, the default view will be displayed on the data form. |
| {#RelationshipName, view: viewName, editmode:cell#} | Generates a view provided by relationship and by view. This view allows inline editing meaning that you can edit cells one by one directly in the grid, without opening specific records. NOTE In order to activate inline editing for a specific cell, you must tick the Allow Editing checkbox displayed on the entity view column (View > View columns). |
| {#MKT_CampaignResponse_MKT_Campaign,nodelete,noinsert#} | Generates a view provided by relationship and by view, but the Delete and Insert buttons are not displayed on the view. You can apply the same logic (similar tokens) for the Export (noexport) or Refresh (norefresh) if you no longer need them on the view. |
| {$ChartName$} | Generates a chart based on the provided chart name. |
| {? entityName, view: viewName ?} | Allows you to display a view from another entity. For information on how to use it, see Display View from Another Entity. |
In the HTML template, you can link HTML elements (labels) to attributes. For information on how to do it, see Link Labels to Attributes (deprecated).
3 Provide the code to be executed after the step is generated (optional)
Click the Advanced tab and, in the After Events field, provide the code to be executed after the step is generated (opened).
Click Save and Close. The new section is displayed in the Entity Form Sections list.
Variables and functions declared in other steps or in the form driven flow's Advanced section are not visible in the current step.
To access such variables and functions, use the formData.formScope object.
4 Define who has access to the step
If your business case requires that specific steps are available to designated roles within your organization, click the Security Roles tab and add the security roles who should have access to them. If no security roles are added here, all users are able to view the section.
5 Save step
Click Save and close. Add as many steps as you need, then either continue with the journey configuration, or save the changes by clicking Save and close.